

What is a Smart Action?
Sooner or later, you will need to perform actions on your data that are specific to your business. Moderating comments, generating an invoice, logging into a customer’s account or banning a user are exactly the kind of important tasks to unlock in order to manage your day-to-day operations. On our Live Demo example, ourcompanies collection has many examples of Smart Action. The simplest one is Mark as live.
If you’re looking for information on native actions (CRUD), check out this page.
Creating a Smart action
In order to create a Smart action, you will first need to declare it in your code for a specific collection. Here we declare a Mark as Live Smart action for thecompanies collection.
- SQL
- Mongoose
req.user
req.body
You can find important information in the body of the request.This is particularly useful to find the context in which an action was performed via a relationship.
Customizing response
Default success notification
Returning a 204 status code to the HTTP request of the Smart Action shows the default notification message in the browser. On our Live Demo example, if our Smart ActionMark as Live route is implemented like this:

Custom success notification
If we return a 200 status code with an object{ success: '...' } as the payload like this…
- SQL
- Mongoose
- Rails

Custom error notification
Finally, returning a 400 status code allows you to return errors properly.- SQL
- Mongoose
- Rails

Custom HTML response
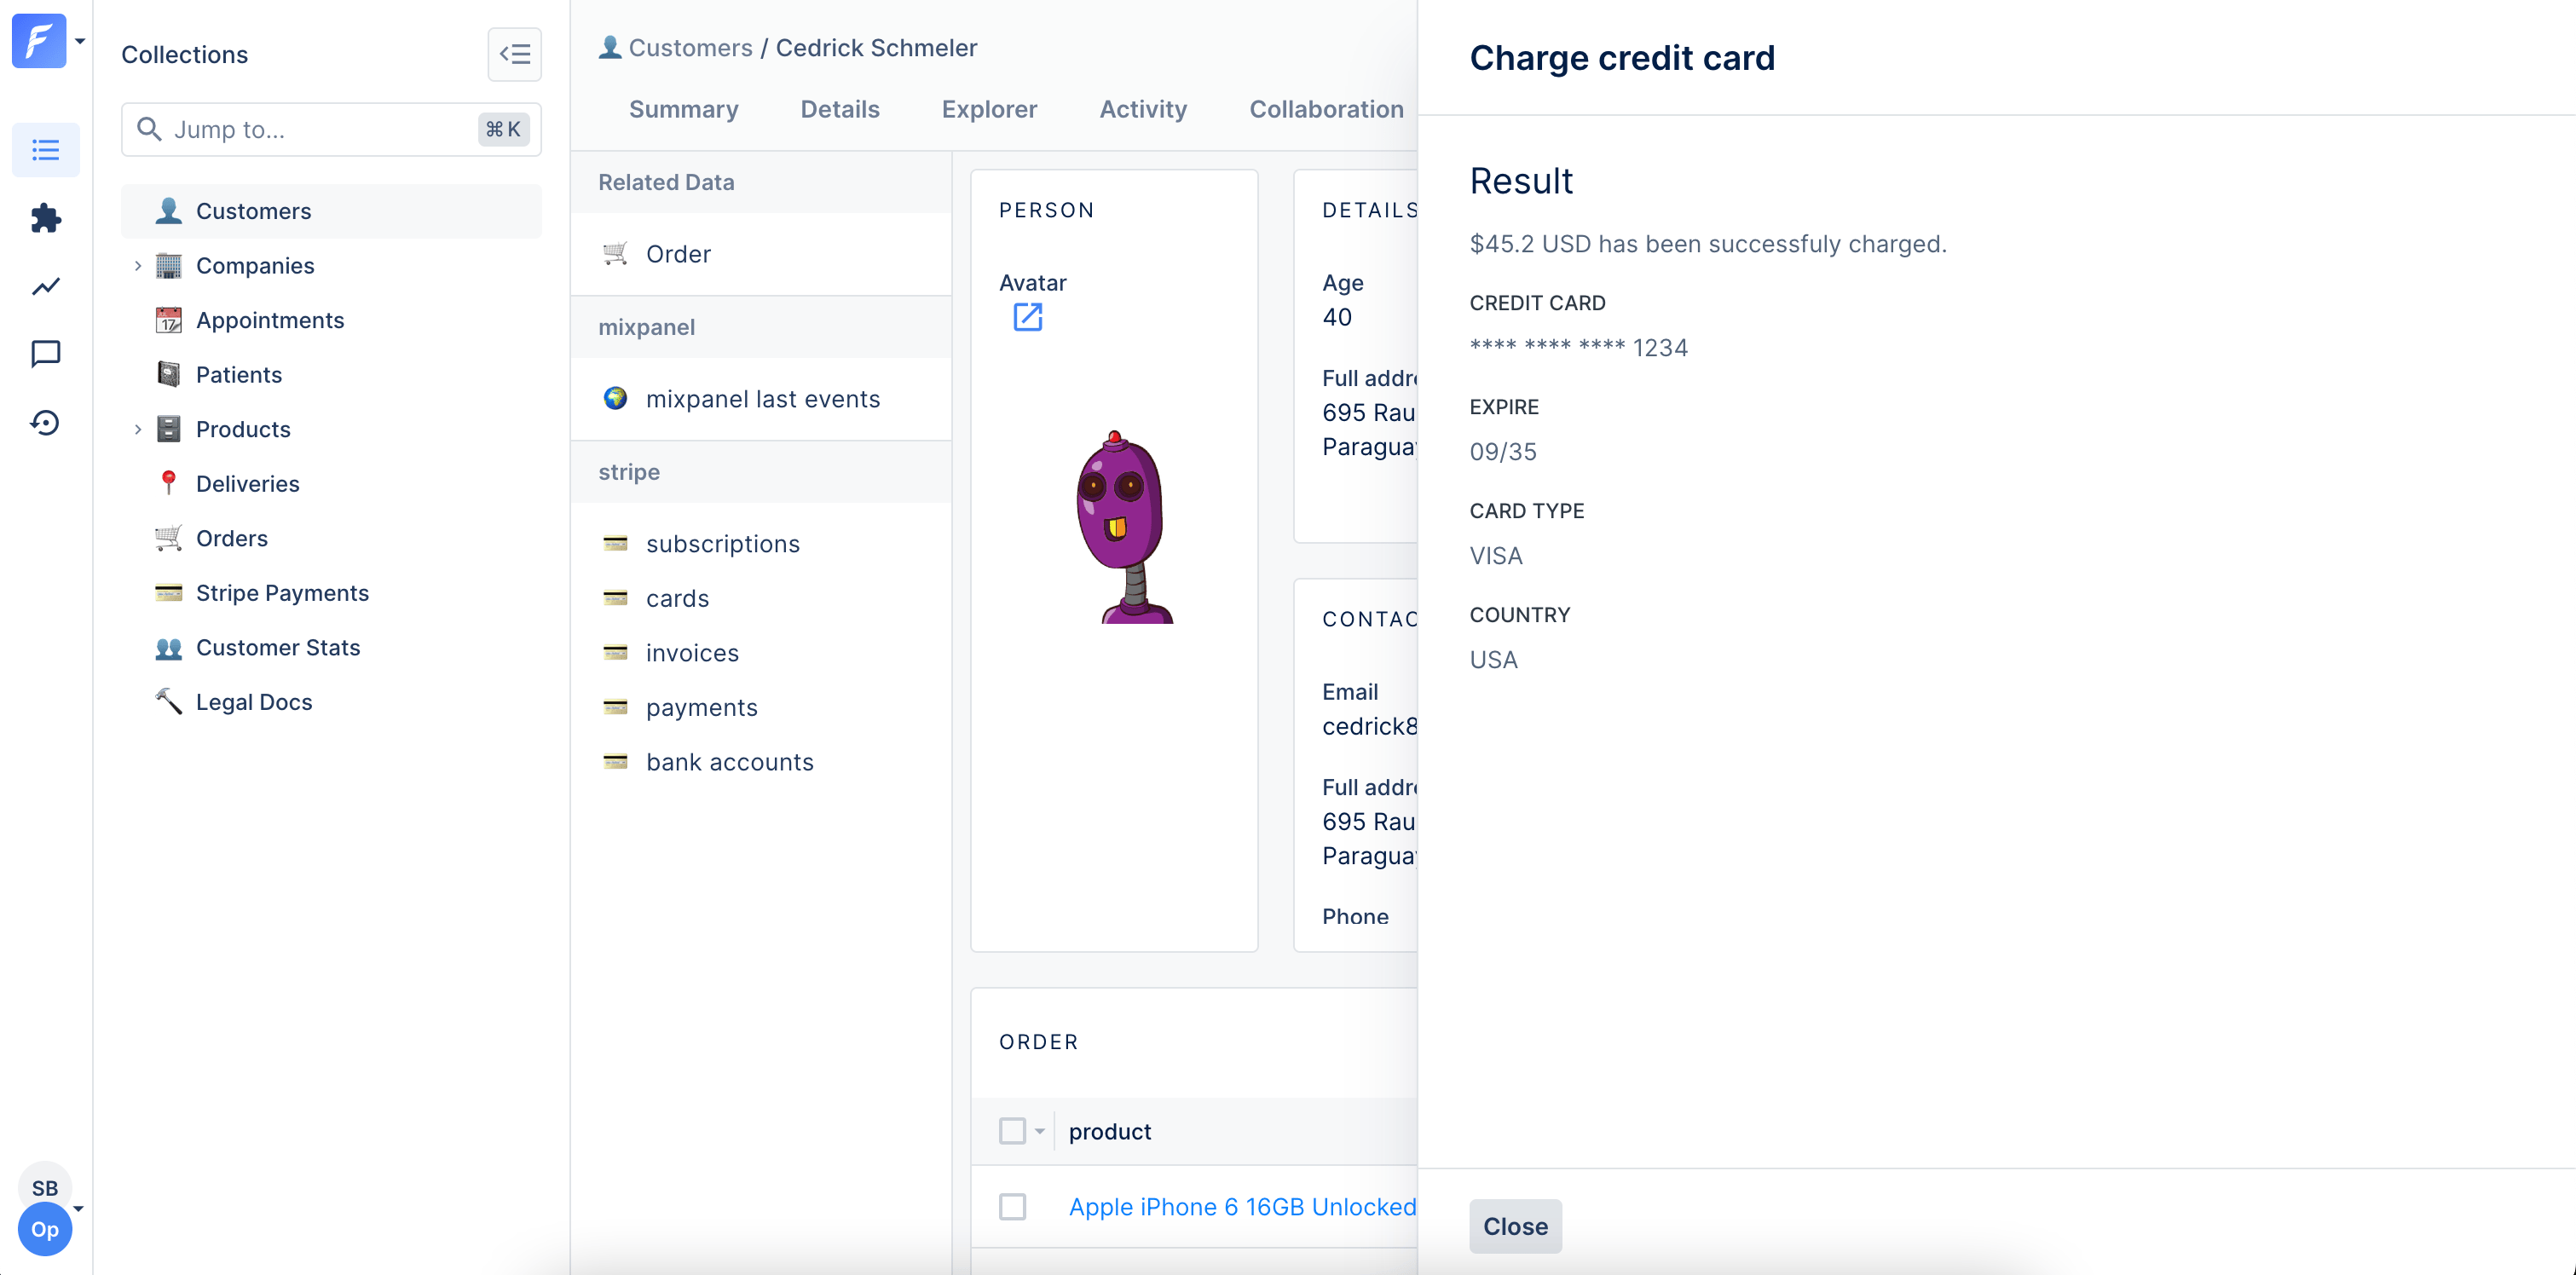
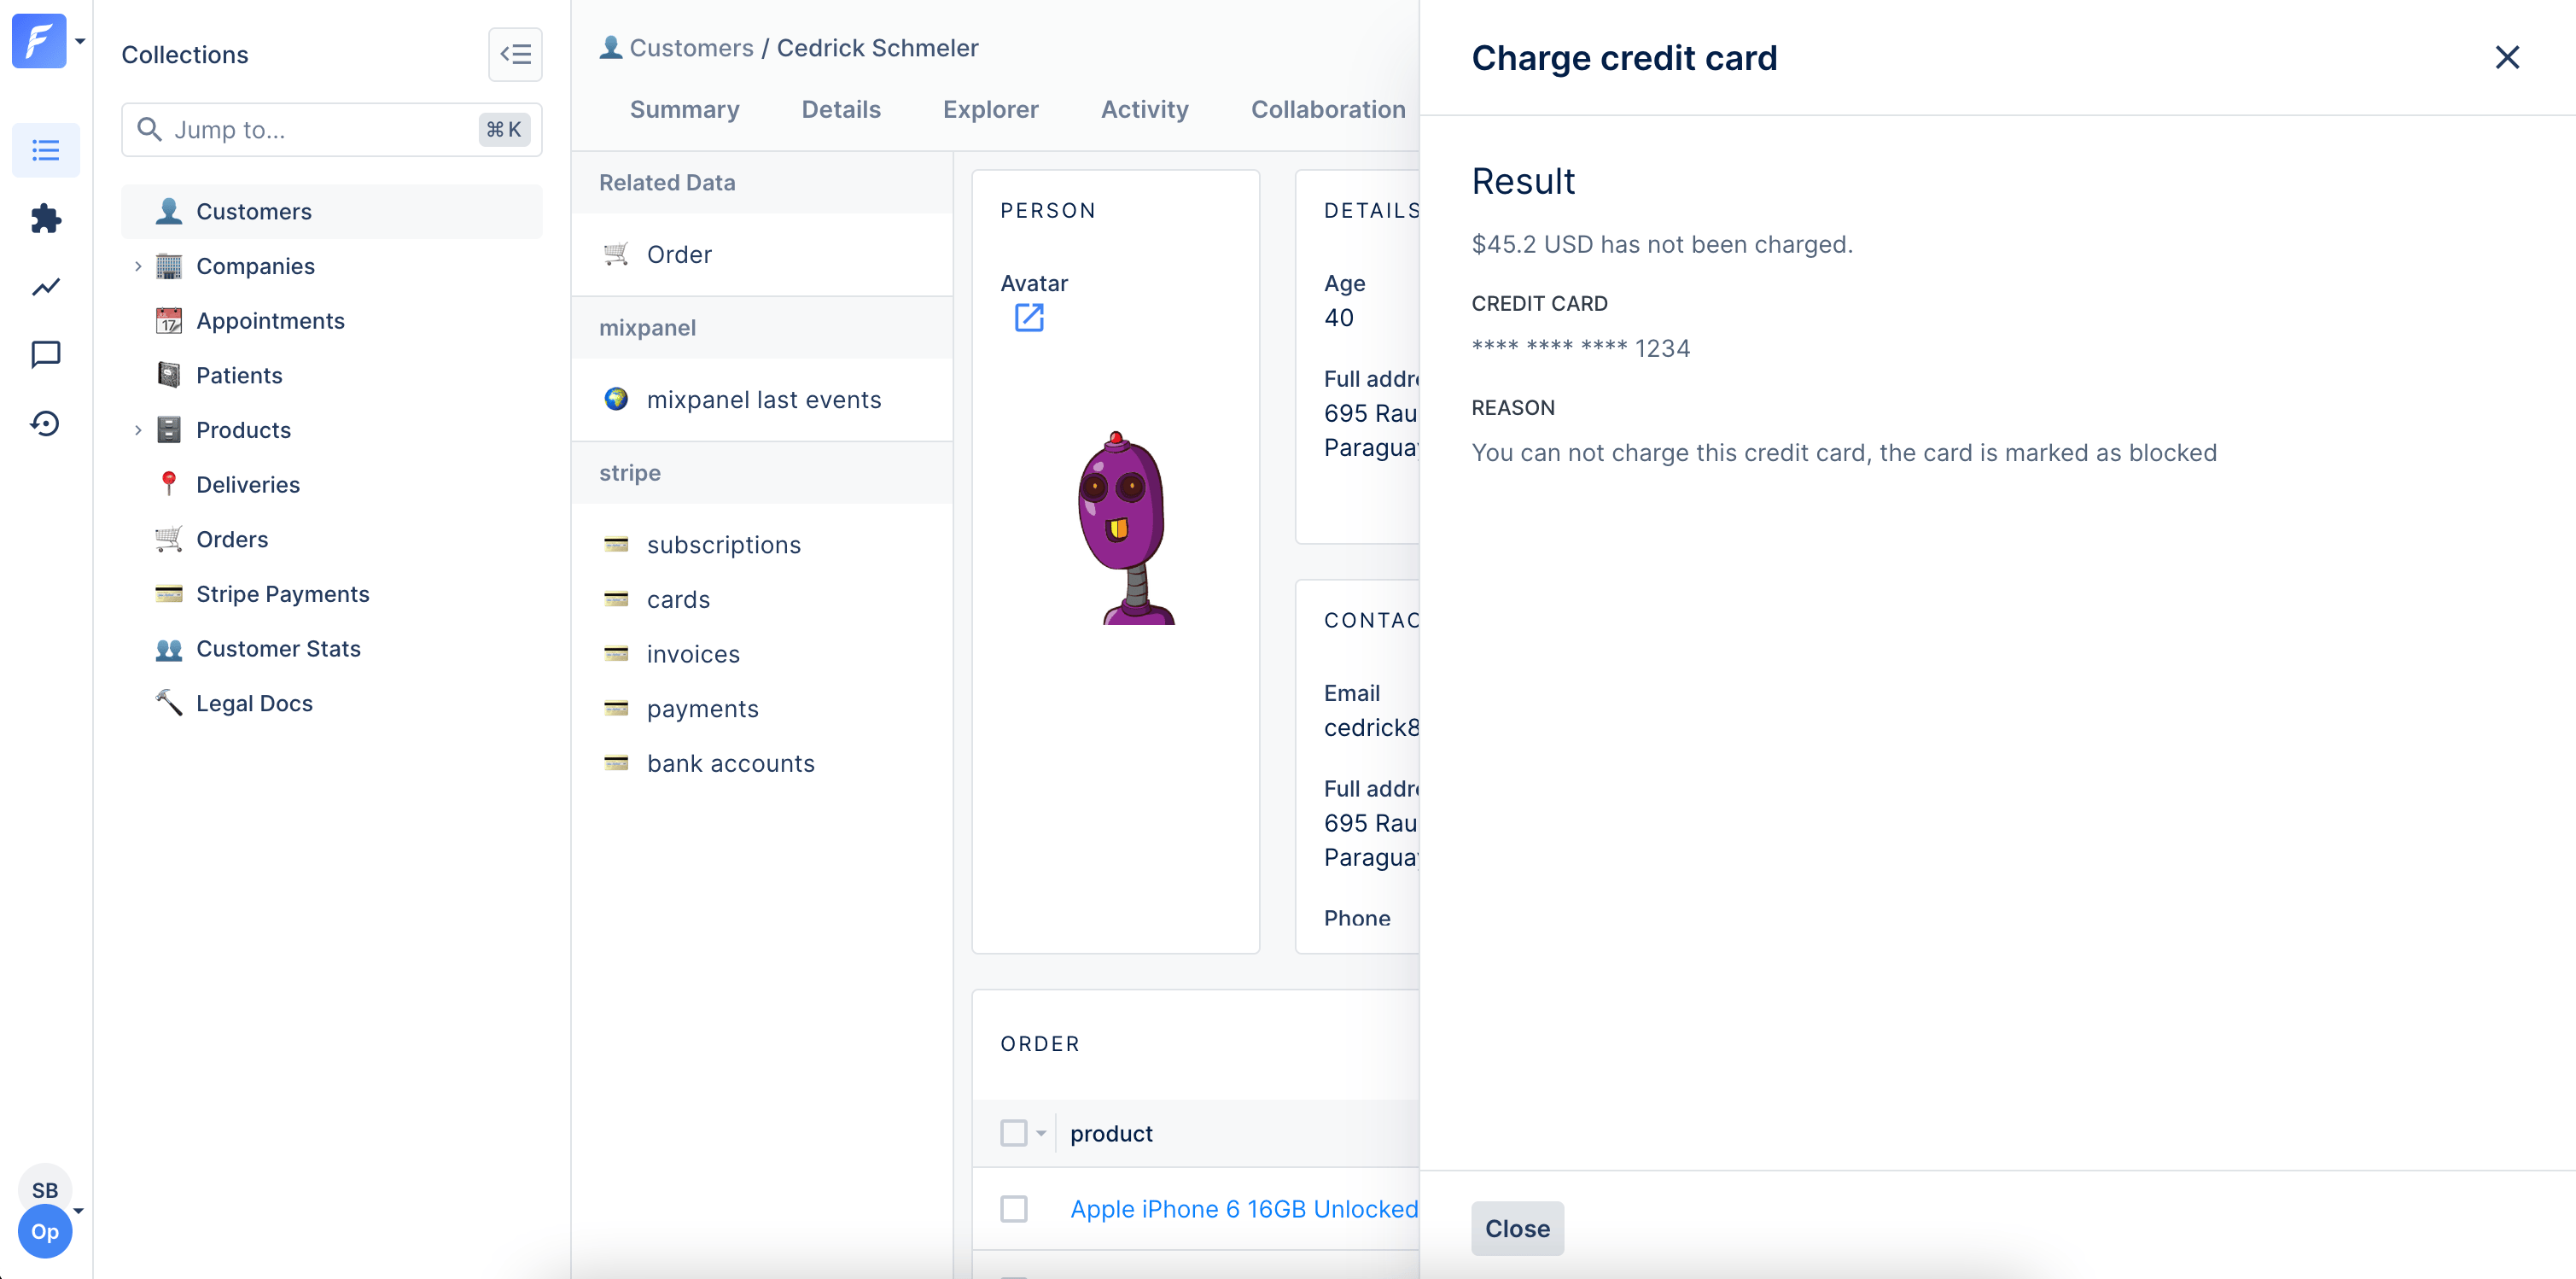
You can also return a HTML page as a response to give more feedback to the admin user who has triggered your Smart Action. To do this, you just need to return a 200 status code with an object{ html: '...' }.
On our Live Demo example, we’ve created a Charge credit card Smart Action on the Collection customersthat returns a custom HTML response.
- SQL
- Mongoose
- Rails
- SQL
- Mongoose
- Rails
Setting up a webhook
After a smart action you can set up a HTTP (or HTTPS) callback - a webhook - to forward information to other applications.To set up a webhook all you have to do is to add a
webhookobject in the response of your action.
- SQL
- Mongoose
- Rails
- Django
- Laravel
Refreshing your related data
If you want to create an action accessible from the details or the summary view of a record involving related data, this section may interest you. In the example below, the “Add new transaction” action is accessible from the summary view. This action creates a new transaction and automatically refreshes the “Emitted transactions” related data section to see the new transaction.- SQL
- Mongoose
- Rails
- Django
- Laravel
Below is the sample code. We use faker to generate random data in our example. Remember to install it if you wish to use it (
npm install faker).Redirecting to a different page on success
To streamline your operation workflow, it could make sense to redirect to another page after a Smart action was successfully executed.It is possible using the
redirectTo property.The redirection works both for internal (
*.forestadmin.com pages) and external links.
External links will open in a new tab.
- SQL
- Mongoose
- Rails
Enable/Disable a Smart Action according to the state of a record
Sometimes, your Smart Action only makes sense depending on the state of your records. On our Live Demo, it does not make any sense to enable theMark as Live Smart Action on the companies collection if the company is already live, right? This is configured from the collection’s Smart Action settings.
Restrict a smart action to specific roles
When using Forest collaboratively with clear roles defined it becomes relevant to restrict a smart action only to a select few. This functionality is accessible through Smart Actions Permissions in the Role section of your Project Settings.Require approval for a Smart action
Critical actions for your business may need approval before being processed. You can require approval per role from the Roles tab of your Project Settings; approval requests are then reviewed from the Collaboration menu.Want to go further with Smart Actions? Read the next page to discover how to make your Smart Actions even more powerful with Forms!